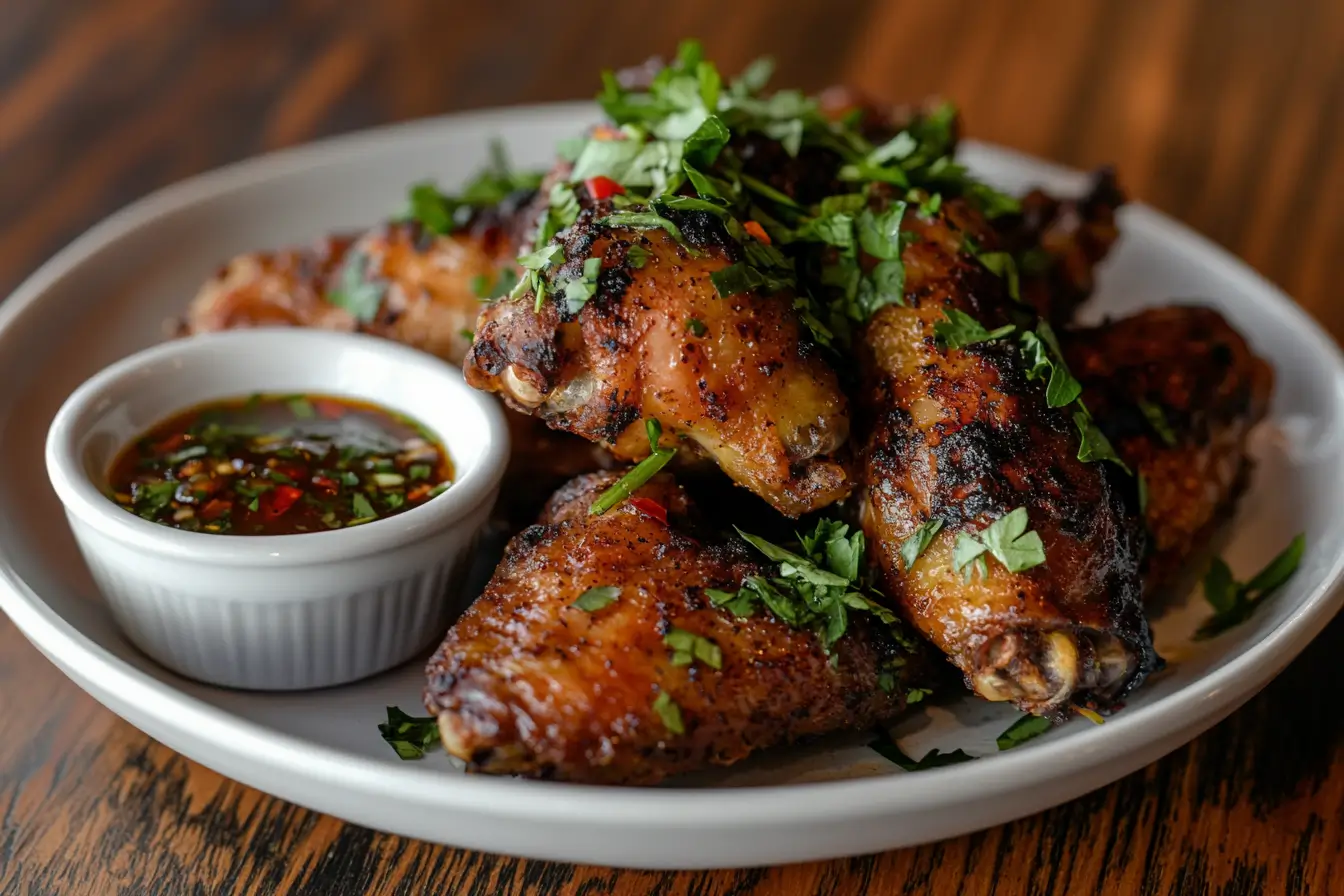
Crispy Baked Chicken Wings are one of the most adored finger snacks all around the world. Be it a sports event, a casual dinner at home, or a party, chicken wings remain an all-time favorite. For most of us, the mere thought of a crispy, deep-fried chicken wing conjures images of indulgent guilty pleasure. But here’s the reality: you can achieve that same satisfying crunch by baking your wings in the oven.
The best part? It’s far less messy, more economical, and a healthier alternative to deep frying. In this detailed guide, we cover everything you need to know about baking crispy chicken wings—from how baking powder unlocks that signature crunch to the best way to store leftovers without losing their legendary crispness.
Table of Contents
1. Why Choose Baked Over Fried?
For ages now, the most preferred way of cooking chicken wings was to deep-fry them. Deep frying ensures a signature crunch and a delicious golden color by submerging wings in hot oil. However, baking wings in the oven is has increased in popularity, and for very good reasons:`
Less Mess And Less Oil
Deep-frying can result in splashes of sizzling oil, and the additional task of cleaning out the used oil as well as a smell that can get stuck in your whole house. On the other hand, baking does not require much oil and is hassle free.
Healthier Alternative
Baked chicken wings definitely isn’t considered a health food, but they surely contain a lot lesser fats and calories than their deep-fried cousins.
Consistency
Diffuculty in ensuring uniformity in any form of pre-cooked chicken using a deep fryer and having it overcooked on the outside whilst being raw in the centre is a relativity common problem especially when deep frying in bigger quantities. However in baking it with a wire rack in a hot oven, guarantees that each wing gets equal amount of heat.
Ease And Convenience
People who love cooking will already have a baking tray and oven, which means no deep frying equipment like a fryer or a thermometer to check the oil temperature is needed.
It is understandable that some skeptics still question baking, as some believe that the taste and texture might get altered. This will be solved with the method we will look at together.ith the use of a not-so-secret ingredient called baking powder—you won’t have to sacrifice any crunch.
2. The Anatomy of a Chicken Wing
A chicken wing typically comprises three parts:
- Drumette: This section attaches to the main body of the chicken and resembles a small drumstick. Drumettes often have slightly more meat and a different shape that’s easier for some people to handle.
- Flat (or Wingette): The middle section of the wing has two parallel bones and a thin layer of meat. Some wing lovers insist the flat is the best part because of how the skin crisps along the bones.
- Tip: The pointed end of the wing that usually doesn’t hold much meat. Many people discard this part or save it for making chicken stock.
In most grocery stores, you can find wings already broken down into drumettes and flats, usually labeled “party wings.” If you buy whole wings, you can separate them at the joints using a sharp knife or kitchen shears. Removing the tip is often recommended for easier handling and a more uniform cooking process, though you can bake them whole if you prefer.
3. Selecting High-Quality Wings
The final result depends heavily on the quality of your poultry. If possible:
- Buy Fresh: Fresh, never-frozen chicken wings often have a more appealing texture and flavor.
- Examine the Packaging: Check that the wings are free from any odd discolorations or strong odors.
- Choose the Right Quantity: Most people allocate about 4–6 wings per person if you’re serving them as the main protein. For a party with multiple dishes, 2–4 wings per guest might suffice.
If fresh wings aren’t an option, frozen wings will still work well. Allow them to thaw completely in the refrigerator before proceeding with the recipe to ensure even cooking.
4. Preparing Your Kitchen and Tools
Before you jump into making crispy baked wings, gather the necessary tools:
- Rimmed Baking Sheet: A sheet with raised edges prevents any juices or rendered fat from spilling.
- Wire Rack: Placing your wings on a rack allows the hot air to circulate underneath, ensuring that the entire surface area gets crispy.
- Aluminum Foil or Parchment Paper: Lining the baking sheet makes cleanup a breeze.
- Mixing Bowls: You’ll need at least one large bowl to toss your wings with seasoning and possibly an additional bowl for sauce.
- Tongs: Useful for flipping wings halfway through the baking process.
- Paper Towels: For patting the wings dry, which is essential to achieving great texture.
- Oven Thermometer (Optional): Many ovens run hotter or cooler than indicated. Using an oven thermometer can help you maintain the correct temperature.
- Meat Thermometer (Highly Recommended): Ensures that your wings reach the safe internal temperature of 165°F (74°C) without overcooking.
5. Key Ingredients
Below is the basic list of ingredients used in most crispy baked chicken wing recipes:
- Chicken Wings: Flats and drumettes separated, or whole if you prefer.
- Baking Powder: Choose aluminum-free if possible to avoid any residual metallic taste.
- Salt: Enhances the flavor of the chicken and helps draw out moisture.
- Black Pepper: Adds a mild heat and basic seasoning.
- Optional Spices: Garlic powder, onion powder, paprika, cayenne pepper, or dried herbs like oregano and thyme.
- Sauce (Optional): Common sauces include buffalo, barbecue, teriyaki, honey garlic, and more.
While the focus here is on crispiness, feel free to personalize the base seasoning with your favorite spice blends. If you like extra heat, add chili flakes or cayenne. For a more herbaceous flavor, try rosemary or thyme.
6. Step-by-Step Instructions: The Main Recipe
Below is a detailed walkthrough on how to make crispy baked chicken wings using baking powder. This method is straightforward, but the details matter when trying to achieve that crunch.
Step 1: Prep the Baking Sheet
- Line a rimmed baking sheet with aluminum foil or parchment paper.
- Place a wire rack on top of the lined sheet. This rack will ensure air circulates around the wings.
Step 2: Preheat the Oven
- Preheat the oven to 425°F (220°C). A properly preheated oven is critical for maximum crispiness. If your oven runs cold, you might need to set it slightly higher.
Step 3: Pat the Wings Dry
- Using paper towels, pat each chicken wing to remove excess moisture.
- This step is vital. Any extra water left on the skin can turn into steam, preventing crispness.
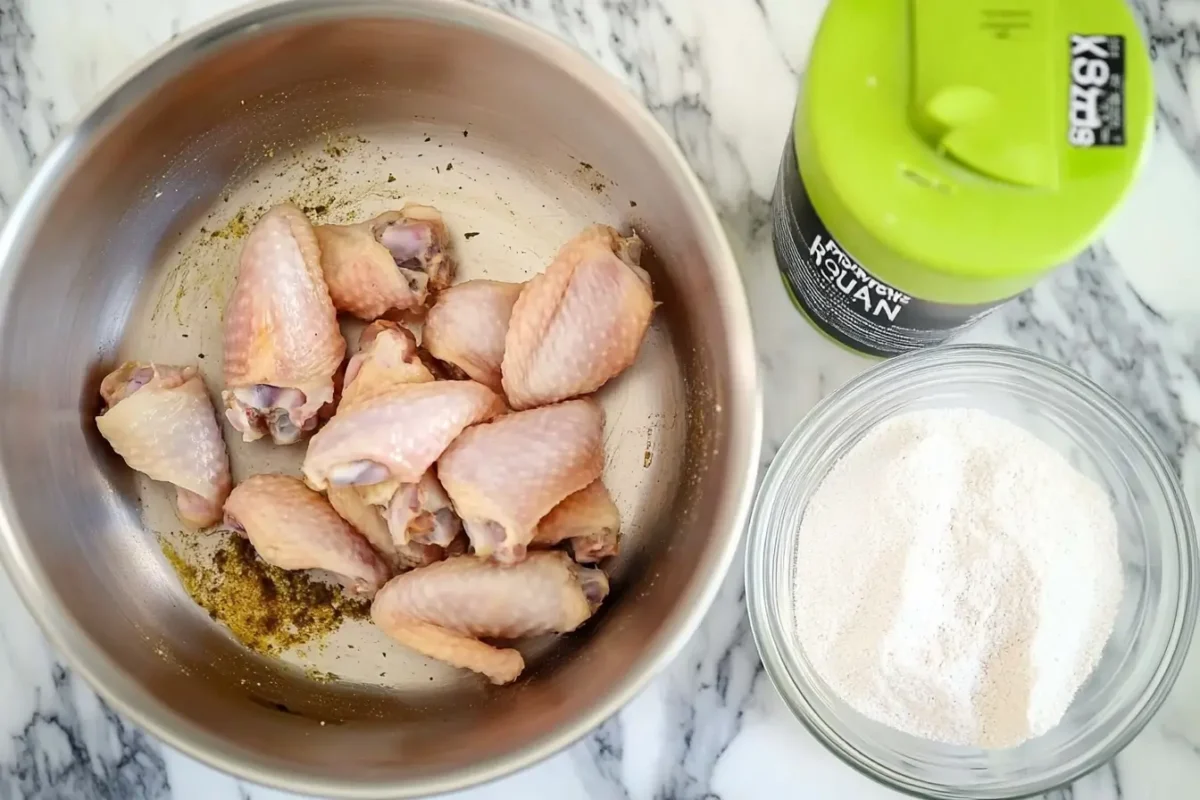
Step 4: Seasoning Mixture
- In a large bowl, combine the following for about 2 pounds of chicken wings:
- 1 tablespoon of baking powder
- 1 teaspoon of salt
- ½ teaspoon of black pepper
- Optional: ½ teaspoon garlic powder or paprika for additional flavor.
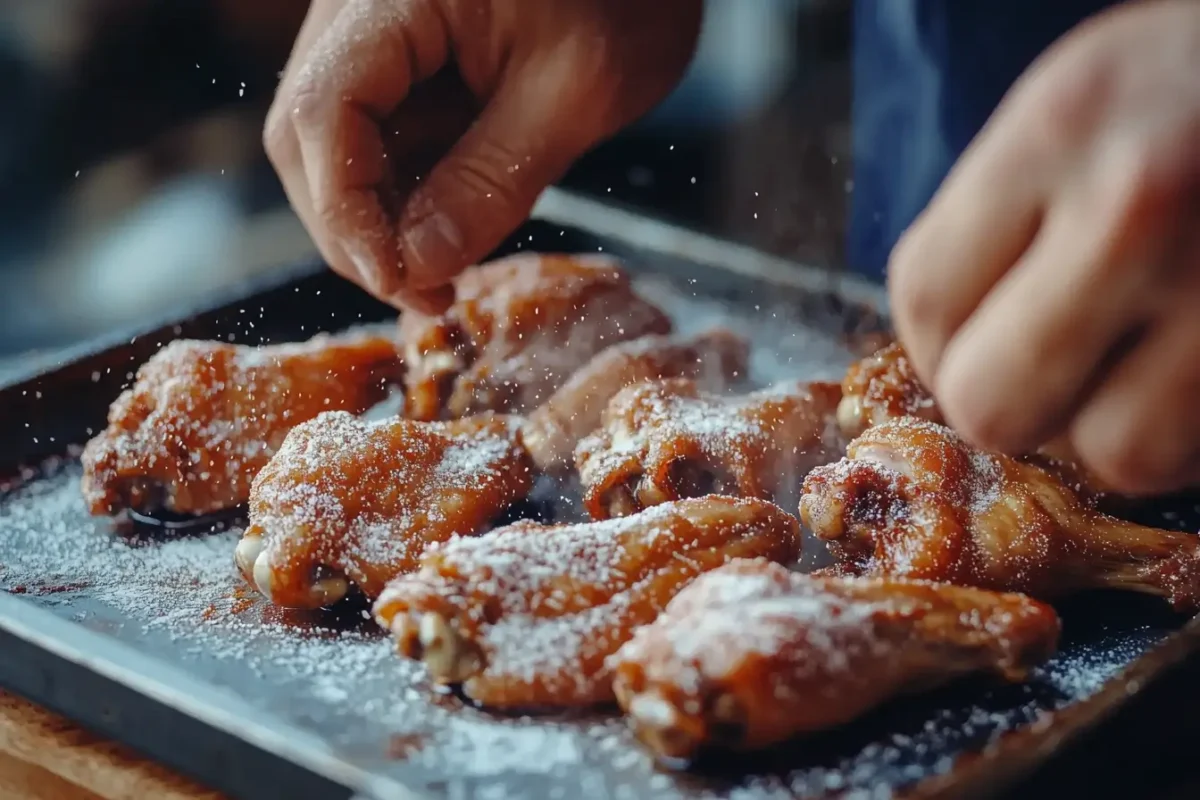
Step 5: Coat the Wings
- Add the wings to the bowl, then toss or mix with your hands until each wing is thoroughly coated with the baking powder seasoning blend.
- Make sure there are no white clumps of baking powder visible; if so, distribute it more evenly.
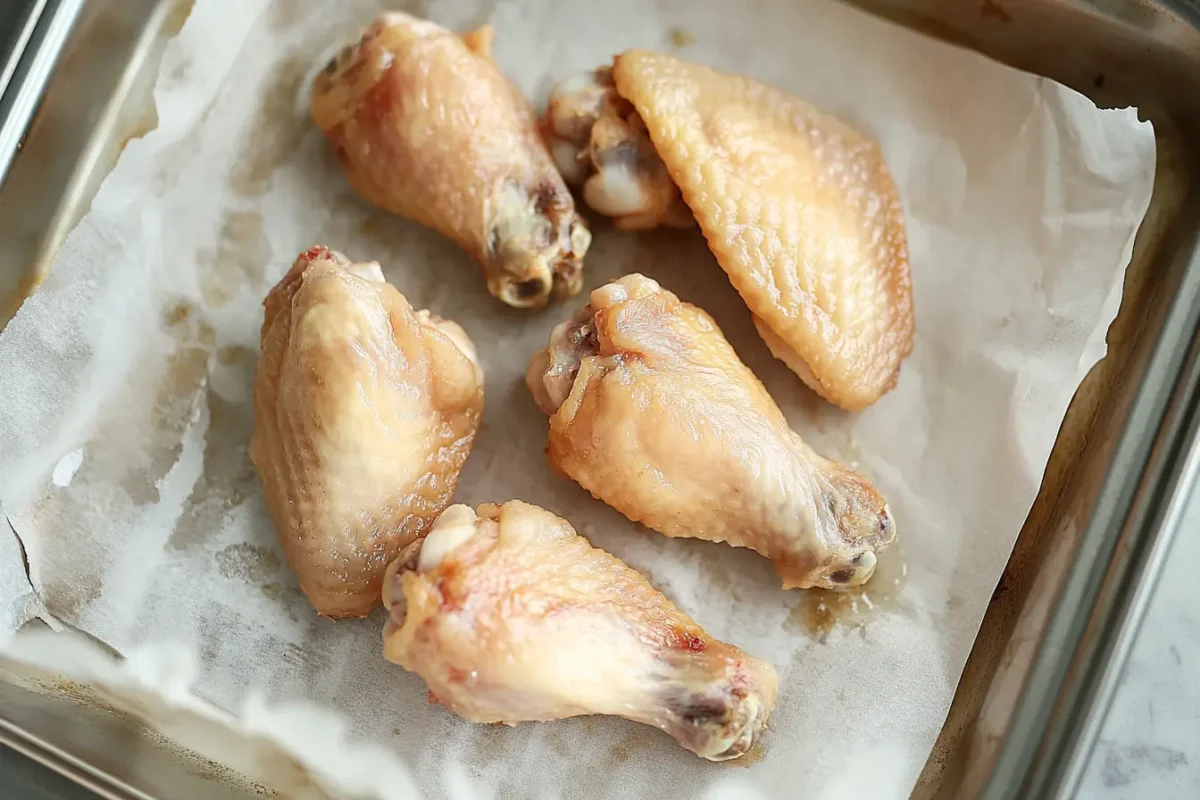
Step 6: Arrange the Wings
- Place each wing on the wire rack, skin side up where applicable.
- Leave some space between each piece. Crowded wings can cause steaming and uneven browning.
Step 7: Bake and Flip
- Bake the wings for 45–50 minutes, flipping them halfway through.
- Keep an eye on their color; they should turn a deep, golden brown.
Step 8: Check Temperature
- Using a meat thermometer, ensure the internal temperature of the thickest part of a wing is at least 165°F (74°C).
- If you prefer them extra crispy, you can let them reach slightly above 165°F, but be mindful not to overcook the meat.
Step 9: Optional Sauce
- If you like your wings saucy, toss them in your favorite wing sauce once they come out of the oven.
- You can place them back on the rack and bake for an additional 5 minutes to help the sauce caramelize or “set.”
Following this sequence should yield wings that are crisp on the outside yet juicy inside.
7. Additional Seasoning Ideas
While salt, pepper, and a bit of baking powder can suffice, you can easily diversify the flavor profile:
- Smoky Paprika: Adds a gently smoky undertone.
- Chili Powder: Delivers mild heat and a rich color.
- Cajun Seasoning: Provides a complex blend of spices like paprika, cayenne, and herbs.
- Italian Herbs: Incorporate dried rosemary, thyme, oregano, or basil for a more Mediterranean taste.
- Lemon Pepper: Offers a bright citrus kick paired with a peppery bite.
Experimenting with spice mixtures allows you to create a signature wing flavor that keeps guests guessing and coming back for more.
8. Sauce It Up! (Optional Finishing Touches)
Some people love a dry, crispy wing that they can dip into their sauce of choice. Others want their wings coated in sauce, from buffalo to barbecue or sweet chili. Here are some popular finishing sauces:
- Classic Buffalo: A combination of hot sauce, melted butter, and sometimes a dash of Worcestershire sauce or vinegar.
- Barbecue: Sweet, tangy, or spicy versions are widely available. You can also make a homemade barbecue sauce by simmering tomato paste or ketchup with brown sugar, vinegar, and spices.
- Honey Garlic: Equal parts honey and soy sauce, heated with minced garlic, can create a glaze that’s sticky, sweet, and a little savory.
- Teriyaki: Typically involves soy sauce, sugar, ginger, and garlic to create a slightly sweet, rich glaze.
- Sweet Chili: Made with sugar, chili peppers, and vinegar for a balance of heat and sweetness.
Whichever sauce you choose, add it to the wings immediately after they come out of the oven so it clings to the hot, crispy surface. If you want the sauce to thicken or caramelize a bit, you can return the coated wings to the oven for around 5 minutes.
9. Common Mistakes and How to Avoid Them
Mistakes are common even for experienced cooks when it comes to retaining flavor and achieving crispiness. Here are some mistakes that cooks must pay attention to:
Failing to Pat the Wings Dry: Not patting the wings dry means instead of crisping, it will be steaming. Always ensure surface moisture is removed.
Skipping the Wire Rack: Directly putting the wings on the baking sheet without a wire rack will cause uneven cooking. Hot air will not be able to circulate under the wings.
Blocking Out Space: Wings require a lot of space. If they are put too close to each other, they will end up cooking in their own juices. Spread the wings evenly.
Using Baking Soda Instead of Baking Powder: Off flavors can be caused by baking soda. Baking powder needs to be used (and it should not be expired).
Applying Sauce Before Cooking: Sauce should always be added during the last moments of cooking, otherwise, the moisture and sugar will burn and prevent the skin from crisping.
Incorrect Cooking Temperatures: Timing and crispness will suffer if the oven’s temperature is too low or too high. Make use of an oven thermometer for verification.
10. Frequently Asked Questions (FAQ)
Can I use a convection oven for baked wings?
Absolutely. Convection ovens circulate air more efficiently, often resulting in even crispier skin. You may need to reduce the baking time slightly or lower the temperature by about 25°F.
Is aluminum-free baking powder necessary?
While not mandatory, aluminum-free baking powder avoids the risk of a metallic aftertaste. If you only have standard baking powder, use a bit less to minimize any potential flavor issues.
Do I need to flip the wings more than once?
Flipping halfway through baking is sufficient in most cases. However, if you notice uneven browning, you can flip them an additional time toward the end.
How can I tell if my wings are cooked through without a thermometer?
The meat should no longer appear pink near the bone, and the juices should run clear. That said, a meat thermometer is the best way to ensure they’re cooked to 165°F (74°C).
Can I freeze baked wings for later?
Yes. Let them cool completely, then store them in an airtight container in the freezer. Reheat in a preheated 375°F oven for 15–20 minutes, or until heated through and crispy.
11. Storage and Reheating
For leftover wings—or if you plan to make extra in a large batch—here are some best practices:
- Refrigeration: Place leftover wings in an airtight container. They’ll stay fresh for about 3–4 days.
- Reheating: Warm leftover wings in a preheated 375°F oven for about 10–15 minutes. Laying them on a wire rack again helps them crisp up. A microwave will heat them but won’t preserve the crisp texture.
- Freezing: If you have a lot of leftovers, you can freeze wings for up to 2 months. Thaw them overnight in the refrigerator and reheat in the oven.
12. Health Considerations and Nutritional Info
While chicken wings aren’t typically low-fat, you can make them healthier or more nutritionally balanced:
- Remove the Skin: This decreases calories and fat but also lessens the crispiness. Most wing fans prefer keeping the skin on.
- Use Less Sauce: Many sauces contain added sugars and sodium. Controlling how much sauce you add (or using a lower-sugar option) can help manage the nutritional profile.
- Balance with Veggies: Pairing wings with fresh vegetables or a nutritious salad can create a more balanced meal.
- Watch Your Sodium: Baking powder, salt, and certain sauces can significantly raise the sodium level. Adjust the quantities if you’re monitoring sodium intake.
Approximate nutritional breakdown for a serving of six wings (about ½ pound) without sauce can include:
- Calories: Between 250–350 calories, depending on the size of the wings and how much fat is rendered.
- Protein: About 20–25 grams.
- Fat: Roughly 15–25 grams, with some saturated fat.
- Carbs: Typically very low, especially if you don’t add a sugary sauce.
13. Final Thoughts and Summary
Cooking chicken wings until they are perfectly crisp might sound difficult, especially if “crispy” for you was always “deep–fried.” But, if you follow the baking powder seasoning, wing-drying, rack-cooking, and oven-temperature maintenance steps, your wings can compete step against any fried version. Baked chicken wings give you the opportunity to customize flavors more than fried chicken wings, and they also limit the amount of oil or other additives that go into your food.
Adventurous global spices and classic buffalo sauce are just demonstrations of the flavor profiles that chicken wings can adapt to. Also, if you prefer keeping it healthy, it’s possible to minimize the sauces and, if you’d like, you can achieve an utterly extravagant version with sticky glazes and rich dips. The steps provided here will guide you as you wing it, and in no time, you will achieve the chicken wings of your dreams, crispy and tasty.