Introduction to Chocolate Chip Bread
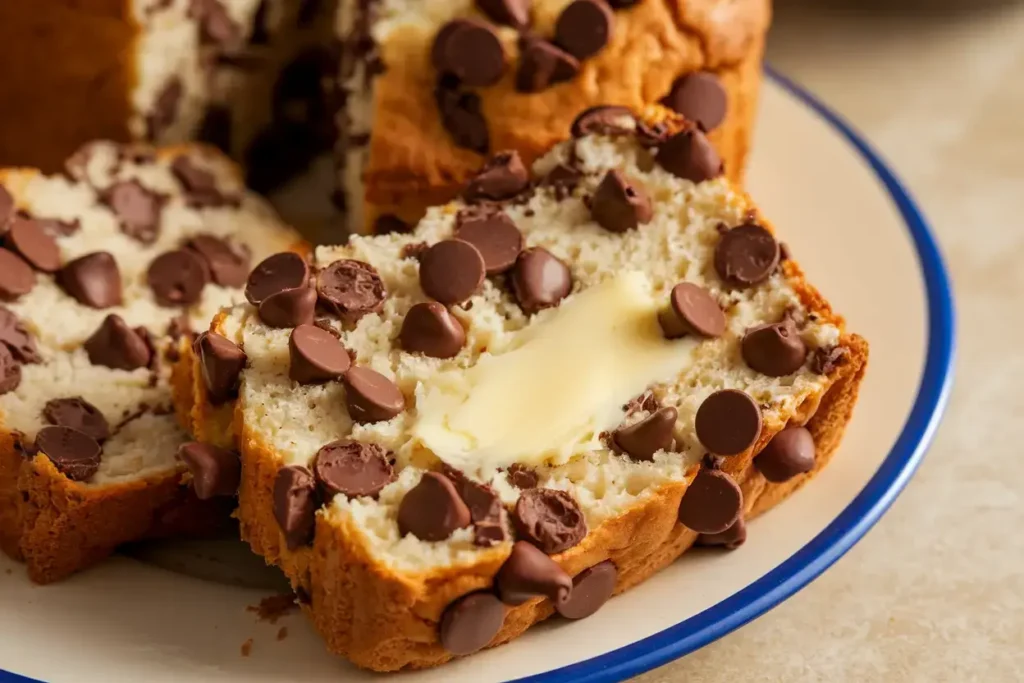
Who can resist the delightful aroma of freshly baked chocolate chip bread wafting through the kitchen? If you’ve ever tasted a warm slice, slathered with a bit of butter or perhaps enjoyed it plain, you know exactly why it’s such a beloved treat. Chocolate chip bread isn’t just any ordinary loaf; it’s a comforting hug in food form!
Imagine biting into soft, fluffy bread mixed with the rich, melty goodness of chocolate chips. Whether slathered with peanut butter, enjoyed with a cup of coffee, or used as the base for an epic French toast, chocolate chip bread is both versatile and delicious. It’s no wonder people of all ages love it!
But what’s the story behind this sweet creation? How did we move from simple bread to the fabulous chocolate chip version? Let’s dive a little deeper into the background of this tasty delight.
The History of Chocolate Chip Bread
Origins of Chocolate and Bread
The history of chocolate chip bread is as rich as the chocolate chips themselves! The use of chocolate dates back to ancient civilizations, such as the Mayans and Aztecs, who enjoyed cacao in various forms—often as a bitter drink. Meanwhile, bread has been a staple food in cultures worldwide for thousands of years. Mixing these two elements didn’t happen overnight, and the sweet treat we enjoy today is a result of creativity and evolution.
Evolution of Chocolate Chip Bread into Today’s Treats
Fast forward to the 1930s, when Ruth Wakefield, the owner of the Toll House Inn in Massachusetts, experimented with chocolate while baking a batch of cookies. She decided to chop up a bar of semi-sweet chocolate and add it to her cookie dough. To her surprise, the chocolate didn’t melt completely, creating gooey pockets of chocolate bliss. This innovation paved the way for what we now know as chocolate chip cookies.
As time went on, bakers began to experiment with using chocolate chips in various recipes, and that’s where chocolate chip bread comes into play. It’s a delightful hybrid that captures the best of both worlds: the comforting embrace of homemade bread and the joyful sweetness of chocolate chips.
Ingredients You’ll Need for Chocolate Chip Bread
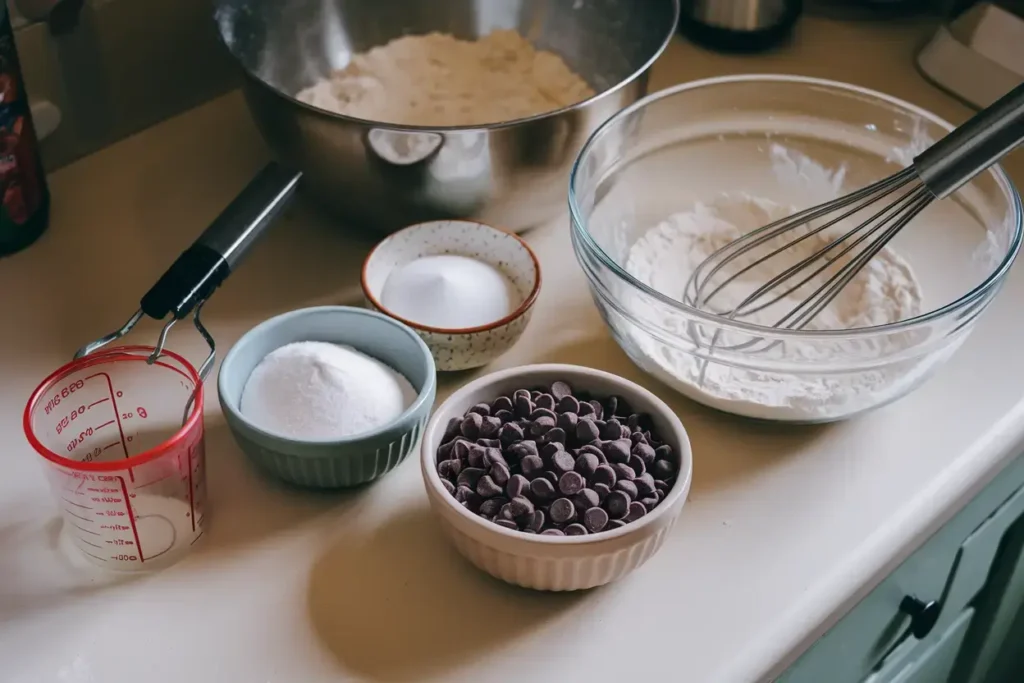
Are you excited to get baking? Let’s talk about what you’ll need to create your very own chocolate chip bread masterpiece! Below you’ll find a simple table listing the ingredients, including quantities for a classic recipe.
| Ingredient | Quantity |
|---|---|
| All-purpose flour | 3 ½ cups |
| Granulated sugar | ½ cup |
| Brown sugar | ½ cup |
| Baking powder | 1 tbsp |
| Baking soda | ½ tsp |
| Salt | 1 tsp |
| Butter | ½ cup (melted) |
| Eggs | 2 large |
| Vanilla extract | 1 tsp |
| Milk | 1 cup |
| Semi-sweet chocolate chips | 1 cup |
Essential Ingredients
You may be wondering why each ingredient is included. Let’s break it down:
- All-purpose flour is the foundation, providing structure to the bread.
- Granulated and brown sugar add sweetness and moisture. Brown sugar also gives a slight caramel flavor that really enhances the chocolate.
- Baking powder and baking soda are essential for helping the bread rise to fluffy perfection. They create air pockets, making each slice light and airy.
- Salt might seem like an odd addition, but it enhances all the flavors.
- Butter adds richness and flavor. You can’t go wrong with butter!
- Eggs are crucial for binding the ingredients together and adding moisture.
- Vanilla extract gives a lovely aroma and elevates the sweet taste.
- Milk adds additional moisture to ensure the bread stays soft.
- And, of course, semi-sweet chocolate chips provide that decadent sweetness that makes chocolate chip bread so irresistible!
Optional Ingredients for Extra Flavor
Want to spice things up? Consider adding some optional ingredients like:
- Nuts (like walnuts or pecans) for crunch.
- Cinnamon for a warm, spicy note.
- Dried fruits for a sweet surprise in every bite.
- Zest of orange or lemon can add a refreshing citrus twist.
Feel free to get creative! Baking is all about experimentation, and adding your twist on classic recipes is half the fun!
The Equipment You’ll Need
Before you get lost in the joy of mixing and kneading, let’s take a look at what equipment you’ll need to bake your chocolate chip bread.
Kitchen Tools for Baking
- Mixing Bowls: A good set of mixing bowls in various sizes will help you combine your ingredients easily.
- Measuring Cups and Spoons: Accurate measurements are key in baking! A set of dry measuring cups and spoons will be your best friends.
- Whisk: Perfect for mixing dry ingredients and incorporating air into your mixture.
- Rubber Spatula: Great for scraping down the sides of your bowl and gently folding in the chocolate chips without breaking them.
- Loaf Pan: You’ll need a sturdy loaf pan to shape your bread. Consider using a non-stick or lined one to make transferring easier!
- Oven Mitts: Safety first—protect those hands when pulling the deliciousness out of the oven!
Choosing the Right Oven
Oh, the oven! Your most important tool. Make sure your oven is pre-heated to the correct temperature, which is typically around 350°F (175°C) for chocolate chip bread. A good rule of thumb is to keep an oven thermometer inside to ensure the temperature is just right.
Baking is like an art form—it requires precision and patience. A well-prepped kitchen will make all the difference in achieving that perfect loaf!
Step-by-Step Recipe for Classic Chocolate Chip Bread
Are you ready to roll up your sleeves and start baking? Let’s go through the recipe step-by-step!

Preparing the Dough
- Mix the Dry Ingredients: In a large mixing bowl, whisk together the flour, granulated sugar, brown sugar, baking powder, baking soda, and salt until evenly combined.
“Baking is just science you can eat!”
- Combine the Wet Ingredients: In another bowl, mix the melted butter, eggs, milk, and vanilla extract until well combined.
- Combine Both Mixes: Pour the wet mixture into the dry ingredients and gently stir using a rubber spatula. Be careful not to overmix; you want a few lumps to create that delightful texture!
- Incorporate the Chocolate Chips: Gently fold in the chocolate chips until they’re evenly distributed in the batter.
Baking Tips and Techniques
- Prep Your Pan: Lightly grease your loaf pan or line it with parchment paper for easy removal.
- Pour It In: Transfer the batter into the prepared loaf pan, smoothing the top with your spatula.
- Bake It: Pop your pan in the oven and let the magic happen! Bake for about 50-60 minutes, or until a toothpick inserted into the center comes out clean or with a few moist crumbs.
- Let It Cool: Once baked, take the pan out of the oven and let it cool in the pan for about 10 minutes. Then, transfer it to a wire rack to cool completely.
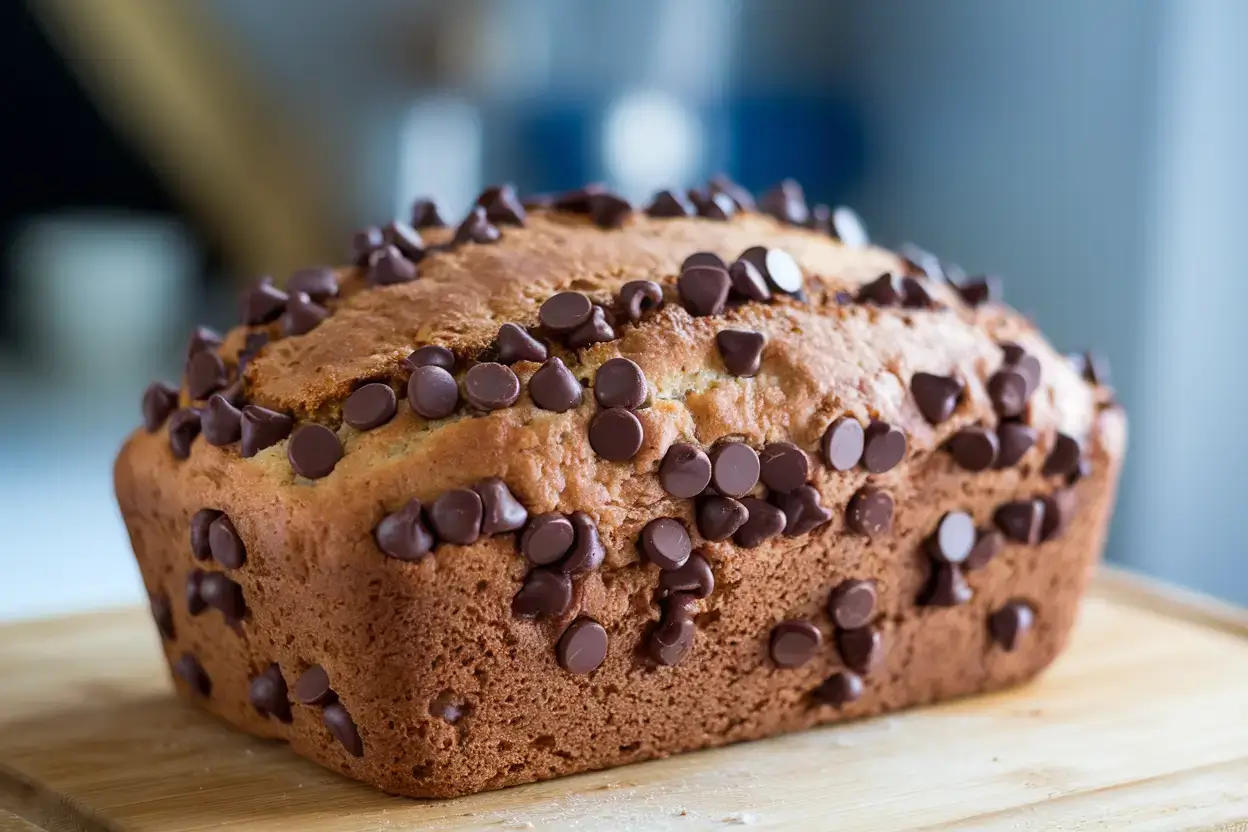
Congratulations! You’ve just baked a delicious loaf of chocolate chip bread.
Common Problems When Making Chocolate Chip Bread
Baking can feel a bit like a science class, and sometimes things don’t go perfectly. No worries! We’ve all been there, and the good news is, most baking mishaps can be fixed or avoided. Let’s take a look at some common problems you might face when making chocolate chip bread and how to solve them.
Bread Not Rising: Causes and Solutions
One of the most disappointing things is taking a loaf out of the oven, only to find it has barely risen. But what went wrong?
- Old Leavening Agents: If your baking powder or baking soda is past its expiration date, it might not work effectively to help your bread rise. Always check the dates—fresh ingredients mean better results!
- Incorrect Temperature: Make sure your oven is pre-heated properly. If the temperature is too low, the bread won’t rise in time. An oven thermometer can help ensure it’s just right!
- Overmixing the Batter: As I mentioned before, overmixing can create too much gluten, leading to a dense loaf. Mix just until combined and those lumps are gone!
Quick Fix Quote:
“Sometimes the simplest solution is just to re-check your ingredients and take a step back.”
Chocolate Chips Sinking: How to Prevent It
Who doesn’t love the gooey chocolate chips? But what happens when they sink to the bottom of your loaf? Here’s how to keep them from disappearing into the depths of the batter:
- Toss in Flour: Before folding in your chocolate chips, toss them in a bit of flour. This helps coat them and allows the chips to stay suspended in the batter while baking.
- Don’t Overmix: Similarly, avoid overmixing the final batter. Gentle folds are your best friend here!
- Use Mini Chips: If you’re really struggling with sinking chips, consider using mini chocolate chips instead. They distribute more evenly throughout the batter.
Dry or Crumbly Bread: Troubleshooting Tips
If you bite into a slice only to find it’s more crumbly than tender, that can be a letdown. Here’s how to keep your chocolate chip bread moist and delicious:
- Measure Accurately: An excess of flour often leads to dry bread. Use the spoon-and-level method: spoon flour into your measuring cup, then level it with a knife.
- Don’t Overbake: A loaf that’s left in the oven too long will lose moisture and become dry. Keep an eye on it in the last 10 minutes of baking.
- Add Moisture: If you find your bread is consistently dry, consider adding an extra egg or a splash of milk to the recipe. You can also experiment with adding applesauce or yogurt for moisture and flavor!
Variations of Chocolate Chip Bread
Now that you’ve mastered the classic chocolate chip bread, let’s get adventurous! There are so many variations to explore, and they’re all just as delicious. 🍽️
Gluten-Free Chocolate Chip Bread
For those who are gluten-sensitive or prefer to avoid gluten, don’t worry! You can enjoy chocolate chip bread, too. Here’s a simple way to make a gluten-free version:
- Flours: Use a 1:1 gluten-free flour blend instead of all-purpose flour.
- Binders: Consider adding xanthan gum, which helps provide structure, and one additional egg to help with binding.
Vegan Chocolate Chip Bread
If you want to whip up a vegan version, here’s how:
- Egg Substitute: Use flaxseed meal (1 tablespoon ground flaxseed mixed with 2.5 tablespoons water equals one egg) or applesauce (1/4 cup for each egg).
- Milk: Replace regular milk with any plant-based milk (almond, soy, oat) to keep it dairy-free.
- Butter: Swap out the butter for coconut oil or a vegan butter substitute.
Stuffed Chocolate Chip Bread
Feeling a bit adventurous? How about stuffing your chocolate chip bread with something scrumptious?
- Nut Butters: Swirl in peanut or almond butter before baking for a nutty surprise.
- Cream Cheese: Add a cream cheese filling for a tangy twist that melts into deliciousness.
Creative Serving Suggestions
So, your chocolate chip bread is baked, cooled, and ready to devour. But wait! Before diving in, let’s talk about serving suggestions that will make your treat even better.

Pairing with Spreads and Toppings
- Nut Butters: Slather peanut or almond butter on a warm slice for added flavor and protein.
- Honey or Maple Syrup: Drizzle honey or maple syrup on top for a sweet addition.
“Chocolate chip bread is like a plain canvas— you can paint it any way you like!”
Best Drinks to Accompany Chocolate Chip Bread
What should you sip while enjoying your chocolatey delight? Here are some great pairings:
- Coffee: A rich cup of coffee is always a hit with chocolate chip bread. The flavors complement each other beautifully.
- Milk: Go classic! A cold glass of milk is simply the best companion for anything chocolatey.
- Herbal Tea: Prefer something lighter? Herbal teas, especially those with hints of vanilla or chocolate, slide right in!
Storing and Freezing Chocolate Chip Bread
You’ve baked your chocolate chip bread, and now, what do you do with any leftovers?
Tips for Storing Fresh Bread
- Room Temperature: Store your bread in an airtight container or a resealable bag at room temperature for up to 3 days. Just make sure to keep it away from direct sunlight to avoid dryness.
- Refrigeration: If you anticipate not eating it for a few days, you can refrigerate it. However, this can lead to a slightly denser texture.
How to Freeze Chocolate Chip Bread Properly
- Cool Completely: Allow the bread to cool completely before wrapping it for freezing.
- Wrap: Wrap it tightly in plastic wrap and then in aluminum foil. This prevents freezer burn.
- Label and Date: Use a freezer-safe bag or container, and don’t forget to label it! Chocolate chip bread can last about 3 months in the freezer.
- To Thaw: When you’re ready to enjoy a slice, simply remove it from the freezer and let it thaw at room temperature. For some added warmth, pop it in the oven at a low temperature for about 10 minutes.
Conclusion: Enjoying Your Homemade Chocolate Chip Bread
There you have it! You now possess all the knowledge you need to create, troubleshoot, and customize your very own chocolate chip bread. Whether you enjoy it for breakfast, as a snack, or a delightful dessert, it’s sure to bring joy to your taste buds and warmth to your kitchen.
So, roll up your sleeves, gather those ingredients, and get baking! Don’t forget to share your creations with family and friends. And remember, the most important ingredient in any recipe is a sprinkle of love. Happy baking!
FAQs
1. What is the purpose of chocolate chips in baking?
Chocolate chips add sweetness, rich flavor, and texture to baked goods, while also enhancing visual appeal.
2. What is the nutritional value of chocolate chip bread?
A typical slice of chocolate chip bread has about 200-300 calories, 30-40g carbohydrates, 8-15g fats, and 3-5g protein, varying based on the recipe.
3. How long are chocolate chips good for after opening?
Opened chocolate chips can last 6 to 12 months if stored in a cool, dry place in an airtight container. Refrigeration can extend their shelf life.
4. How do you eat chocolate chip bread?
Chocolate chip bread can be eaten plain, toasted, as French toast, or with spreads like nut butter or jelly. It pairs well with coffee or milk.

