Introduction to Rising Recipes
Hey there, fellow food lovers! Today, we’re diving into the delightful world of rising recipes. Now, if you’ve ever baked bread, whipped up pancakes, or crafted a cake that puffs up perfectly, you’ve experienced the magic of rising. But what does that really mean? Why does our dough rise? And how can we make it rise better?
Rising recipes hinge on clever science and the right techniques, transforming simple ingredients into fluffy delicacies. Understanding this process not only makes you a better cook but also helps ensure your recipes turn out just right every time. So, grab your apron, and let’s explore rising recipes together!
Understanding the Science Behind Rising
The Role of Leavening Agents
At the heart of rising recipes are leavening agents. Think of leavening agents as the cheerleaders of your baking. They help your dough or batter expand by creating gas bubbles that puff everything up. The three most common types of leavening agents are yeast, baking powder, and baking soda.
- Yeast is a living organism that, when properly activated, produces carbon dioxide. This gas gets trapped in the dough, causing it to rise. Imagine yeast as tiny workers tirelessly creating bubbles that make your bread fluffy and soft.
- Baking powder is like a magical potion! It contains both an acid and a base. When it gets wet, it starts to react and produces carbon dioxide, making your pancakes or cakes super light and airy.
- Baking soda, on the other hand, is a pure base. It needs something acidic in your recipe to kickstart its bubbling action. Think of it as a spark that needs a match to create fire!

The Importance of Ingredients
Keeping a close eye on your ingredients is crucial. Using ingredients that support rising can make or break your dish. For example, fresh yeast will provide better results than expired yeast. Always check expiration dates and make sure your baking powder and soda are fresh.
Quote Box:
“Fresh ingredients are like fresh ideas: they drive your creations to new heights!”
Popular Types of Rising Recipes
From fluffy breads to light cakes, rising recipes are a diverse bunch. Let’s explore some of the most popular ones!
Yeast-Based Rising Recipes
When you think of yeast, bread probably pops into your mind first. Whether it’s a warm baguette or soft dinner rolls, yeast-based rising recipes are classics for a reason. They require patience, as the dough needs time to rise, but the results are well worth it.
Baking Soda and Baking Powder Recipes
These recipes are often known for their quickness. You mix the ingredients, pour the batter, and witness instant magic as it starts rising in the oven. Muffins and pancakes are perfect examples—who doesn’t love a stack of fluffy pancakes in the morning?
Naturally Leavened Recipes
Have you heard of sourdough? This is where things get fascinating! Naturally leavened recipes harness the power of wild yeast present in the environment. A sourdough starter is a mix of flour and water that ferments over days. It sounds a bit tedious, but once you’ve got it going, you’ll be producing delicious bread at home.
Essential Rising Recipe Techniques
This is where the cake meets the beating, my friends! The right techniques will elevate your baking game like nothing else.
Proper Mixing Techniques
Ever heard the saying, “mix it until it’s well blended”? Well, it’s true! Proper mixing is essential to ensure even distribution of the leavening agents. When you mix your batter, aim for that nice, smooth consistency—neither lumpy nor overly dense. Think of your batter as a team of players; they all need to work together!
The Perfect Proofing Process
Proofing is a fancy way of saying, “letting your dough relax and rise.” This step is crucial for yeast-based recipes. It’s your dough’s time to shine, allowing those little yeast organisms to do their job. Cover your dough with a cloth and let it sit somewhere warm for a while; you’ll be amazed at how much it puffs up!
Temperature Control in Rising
Temperature can be a delightful or dastardly factor! Too hot, and you risk killing the yeast; too cold, and it might not rise at all. Think Goldilocks here—just right! Aim for a cozy environment around 75°F (24°C) while your dough is rising.
Common Problems in Rising Recipes
Hmm, so what happens when things don’t go as planned? Let’s explore some common hiccups you might encounter.
Dough Not Rising Enough
We’ve all faced the dreaded scenario: you prepare your dough, wait patiently, and… it barely puffs up. What’s going on here? Well, it could be a few things. First, check your ingredients. Was your yeast fresh? Did you mix properly? Sometimes, it might be as simple as not letting your dough rest long enough!
Solution: For next time, give it a warm environment and a little extra time—patience is key!
Over-Rising and Its Effects
Another conundrum occurs when dough rises too much. While it sounds nice to say your dough is “overachieving,” over-risen dough can collapse and become flat, leading to tough instead of soft results.
Solution: Keep an eye on your dough! You want it to double in size but stop it before it becomes too puffy.
Uneven Rising and Texture Issues
Ever cut into a loaf of bread only to discover the inside is full of holes? That’s uneven rising at play! This can happen due to improper mixing or proofing.
Solution: Ensure you’re mixing your ingredients sufficiently. Also, try folding the dough instead of just stirring, as this helps distribute the yeast better.
Solutions to Common Rising Recipe Problems
Okay, so we’ve identified the problems—now let’s tackle them head-on with some practical solutions!
Troubleshooting Dough That Won’t Rise
If you find your dough isn’t rising, start by checking the temperature of the water used with the yeast. It should be about 100°F (38°C)—a bit warm but not too hot to touch. If you’ve done that, it might be time for a fresh batch of yeast.
Tips for Preventing Over-Rising
Keep an eye on your dough, checking it every 10 minutes after it’s been resting for a while. As soon as it doubles, you’re good to go!
Achieving Evenness in Rising
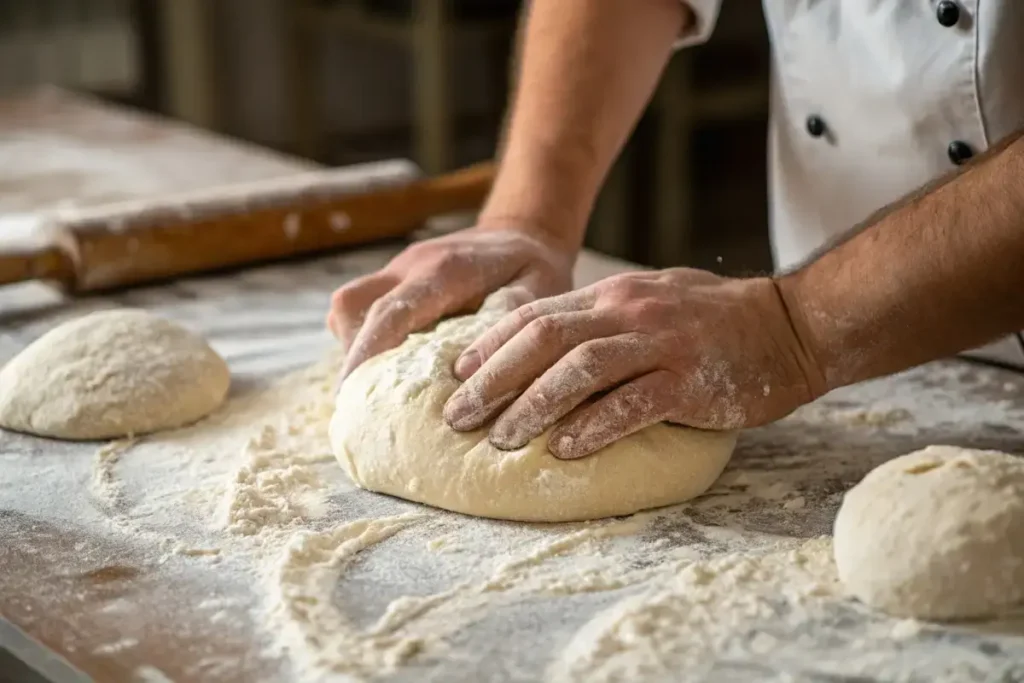
To achieve even rising, consider the kneading process. Knead your dough thoroughly, ensuring all ingredients are well mixed. You can even give it a gentle slap and fold technique, helping to trap air bubbles evenly throughout the dough.
Healthy Alternatives in Rising Recipes
Baking doesn’t have to mean heavy dishes, folks! If you’re looking for healthier alternatives, you’re in the right place.
Whole Grain Rising Recipes
Swapping white flour for whole grain flour can give your baked goods extra nutritional oomph! Whole grains provide fiber, which is great for digestion. Try using whole wheat flour in your bread, and you’ll enjoy a nutty flavor along with those health benefits.
Gluten-Free Rising Options
Gluten-free options have exploded in popularity, and baking has adapted beautifully. You can use ingredients like almond flour or oat flour, but note that these often need more moisture and additional binding agents like eggs or flaxseed.
Favorite Rising Recipes to Try
If you’re ready to jump into making some scrumptious rising recipes, here’s a few to get you started!
Classic Bread Recipes
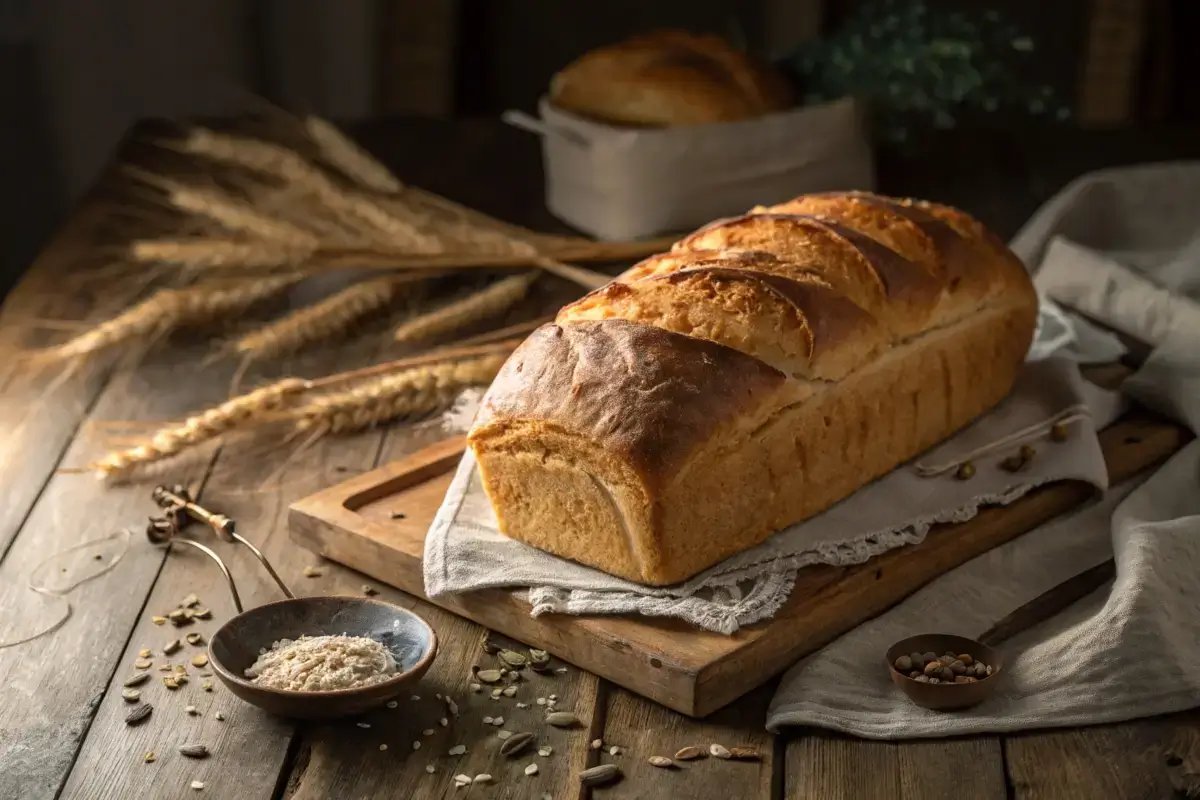
Nothing beats homemade bread. Follow a basic yeast bread recipe, and feel the satisfaction as it rises and fills your home with the most wonderful aroma. You’ll want to devour it fresh out of the oven.
Fluffy Pancakes
Who doesn’t love a good pancake? Mix up your batter and watch those delicate, fluffy pancakes rise in the skillet. Serve with maple syrup, and you’ve got yourself a breakfast fit for kings!
Light and Airy Cakes
Cakes can be simple too! Whip up a basic sponge cake using eggs, sugar, flour, and a bit of baking powder, and you’ll have a delightful treat ready for any occasion.
Nutrition Facts for Classic Bread Recipe
| Nutrient | Amount (per slice) |
|---|---|
| Calories | 80 |
| Protein | 3g |
| Carbohydrates | 15g |
| Dietary Fiber | 1g |
| Fat | 1g |
Ingredients for Classic Bread Recipe
| Ingredient | Quantity |
|---|---|
| All-Purpose Flour | 4 cups |
| Warm Water | 1.5 cups |
| Yeast | 2.25 teaspoons |
| Sugar | 1 tablespoon |
| Salt | 1.5 teaspoons |
Common Problems in Rising Recipes
So, let’s continue our delightful journey through the world of rising recipes! Whether you’ve just started baking or you’re a seasoned pro looking to refine your skills, it’s essential to understand what can go wrong during the rising process. Mistakes can happen to anyone, but knowing how to address them can save your dish… and your sanity! Let’s dive into some of the common problems folks encounter and how to fix them.
Dough Not Rising Enough
This is perhaps one of the most frustrating scenarios for any baker. You’ve done everything by the book, but your dough is as flat as a pancake. So, what gives?
One primary reason for insufficient rising is inactive or expired yeast. Yeast is a living organism, and if it’s past its prime, it might not work as effectively.
Tip: To check if your yeast is still good, perform a quick “proofing” test. Mix the yeast with warm water (around 100°F/38°C) and a sprinkle of sugar. If it becomes foamy after about 5-10 minutes, you’re golden! If not, it’s time to toss it out and grab a new packet.
Another common culprit is temperature. Yeast thrives in a warm environment. If your kitchen feels more like a freezer than a bakery, your dough could be sluggish.
Quote Box:
“Warmth can be the beacon of hope for troubled dough—nurture it, and it will rise!”
Solutions:
- Warm Up: Ensure your dough is in a cozy spot to rise. You can turn your oven on low (around 200°F/93°C) for a minute or two, then turn it off, creating a warm space. Place your covered dough inside.
- Time It Right: Don’t rush it! Depending on your environment, dough may need more time than you expect.
Over-Rising and Its Effects
You might be thinking, “Isn’t rising a good thing?” Well, over-rising can lead to dense, collapsed bread that’s nowhere near what you envisioned. It’s like baking a fluffy soufflé only to find it has plummeted into disappointment.
When dough over-rises, it exhausts the yeast. There can also be structural issues, causing bread to settle back down once baked.
Solutions:
- Check Your Dough: Keep an eye on it. Once it doubles in size—usually 1-2 hours—it’s time to shape it for the next step!
- Poking the Test: Gently poke your dough with a finger. If it springs back quickly, it’s ready. If the indentation stays, it might be over-proofed.
Uneven Rising and Texture Issues
Ever sliced into a loaf of bread to discover an unfortunate pattern of holes? Uneven rising can make for some seriously weird-textured bread. This usually happens due to inadequate mixing, improper shaping, or even cutting the dough improperly before baking.
Solutions:
- Mix It Well: Be sure to mix all ingredients thoroughly—a poorly combined dough can lead to uneven rising.
- Shape with Care: When shaping your dough, aim for a tight surface. A well-shaped loaf will rise evenly and give you a beautiful result.
Solutions to Common Rising Recipe Problems
Okay, we’ve identified those pesky problems, and now it’s time to roll up our sleeves and tackle them head-on! Here are some practical troubleshooting tips you can implement:

Troubleshooting Dough That Won’t Rise
If you find your dough isn’t rising, don’t despair! First, ensure you’ve used the right yeast quantity. A standard yeast amount for bread is around 2.25 teaspoons (one packet) for 4-5 cups of flour. Too little yeast can lead to sluggishness.
Another key aspect is liquid temperature. If the water used with your yeast is too hot, you’ll kill it, and if it’s too cold, it won’t activate. The magic number? Aim for about 100°F (38°C).
Tip: If you suspect your yeast may not be performing, consider adding a pinch of sugar. Sugar acts as food for the yeast, encouraging it to kick-start the rising process.
Quote Box:
“Don’t give up on your dough—every great bake is built on persistence and a little bit of love!”
Tips for Preventing Over-Rising
The happy medium is the name of the game! Remember: you want your dough to double in size, but don’t let it get too comfy.
One technique is to observe your dough closely. Use a timer to remind yourself to check on it every 10-15 minutes after the first rise.
Achieving Evenness in Rising
To ensure even rising, proper kneading is essential. Kneading not only develops gluten but also helps introduce air into the dough.
When kneading, think of it as giving a nice workout to your dough. You’ll want to fold, push, and stretch it until it becomes smooth and elastic.
Bonus Tip: Practice your “stretch and fold” method!
This technique involves stretching the dough, folding it over itself a few times, and letting it rest. It’s fantastic for gluten development and ensures everything is nicely mixed.
Healthy Alternatives in Rising Recipes
Who says healthier options can’t be delicious? Let’s explore some alternatives to traditional rising recipes that pack a nutritious punch!
Whole Grain Rising Recipes
If you’re pondering how to make your bread healthier, consider switching to whole grain flour. Whole grains provide more fiber, which is beneficial for digestion. Not to mention, you’ll add a delightful nutty flavor to your baked goods!
When using whole grain flour, you might need to adjust the liquid amounts since whole grains absorb more moisture. Pro Tip: Start with a bit more water or other liquids in your recipe and adjust as you mix.
Gluten-Free Rising Options
Gluten-free doesn’t have to mean flavor-free! Nowadays, there are plenty of gluten-free options available that rise beautifully.
Popular gluten-free flours include almond flour, oat flour, and coconut flour. But keep in mind, they often require additional binding agents like eggs or flaxseed meal to help with the texture.
Simple Gluten-Free Recipe to Try:
Combine 2 cups of almond flour, 2 tablespoons of flaxseed meal, 1 teaspoon of baking powder, 3 eggs, and a pinch of salt. Mix and cook in a greased pan. Voila! You’ll have delicious gluten-free pancakes!
Favorite Rising Recipes to Try
Ready to flex your baking muscles? Here are a couple of favorite rising recipes to get you going. Let’s whip up some warm, comforting classics!
Classic Bread Recipes
There’s nothing quite like the aroma of fresh bread wafting from your kitchen. A basic white bread recipe involves:
- 4 cups all-purpose flour
- 1.5 cups warm water
- 2.25 teaspoons yeast
- 1 tablespoon sugar
- 1.5 teaspoons salt
Instructions:
- In a bowl, combine warm water, sugar, and yeast. Let it sit until frothy (about 10 minutes).
- In a larger bowl, mix the flour and salt. Slowly add the yeast mixture and knead for 8-10 minutes.
- Place the dough in a greased bowl, cover, and let it rise until doubled in size (about 1-2 hours).
- Shape into a loaf, put it in a greased pan, let it rise again, and bake at 375°F (190°C) for about 30 minutes or until golden.
Fluffy Pancakes
Pancakes are a classic breakfast too! Here’s a quick recipe for fluffy pancakes that everyone will love:
- 1 cup all-purpose flour
- 2 tablespoons sugar
- 1 tablespoon baking powder
- 1 egg
- 1 cup milk
- 2 tablespoons melted butter
Instructions:
- In a bowl, whisk together the flour, sugar, and baking powder.
- In another bowl, mix the egg, milk, and melted butter.
- Combine both mixtures until just blended (don’t overmix; it’s okay to have a few lumps).
- On a hot, greased skillet, pour about 1/4 cup of batter for each pancake. Cook until bubbles form, about 2-3 minutes, then flip and cook until golden.
Conclusion: Mastering Your Rising Recipes
Congratulations, budding bakers! You’re now armed with essential knowledge to tackle rising recipes like a pro. Remember, every little hiccup in the kitchen is just another opportunity to learn, create, and enjoy the process of baking. Each rise and fall teaches us how to improve, and soon, you’ll be whipping up delicious treats with confidence.
Keep experimenting, trust the process, and above all, savor every bite of your delicious creations!
FAQs on Rising Recipes
1. Can All Recipes Be Scaled Up or Down?
Yes, most recipes can be scaled, but keep the ingredient ratios the same, adjust baking times, and ensure your equipment can handle the volume.
2. How Do You Make Dough Rise?
To make dough rise, use active yeast, provide warmth (75°F – 100°F), knead the dough for gluten development, and cover it to prevent drying out. Allow it to rise until doubled in size.
3. How Do You Unlock Recipes in V Rising?
Unlock recipes in V Rising by exploring the world, crafting at various stations, collecting ingredients, leveling up your character, and defeating bosses for unique recipes.
4. Does More Yeast Mean More Rise?
Not necessarily. Using too much yeast can cause quick gas production, leading to collapsing bread. It’s better to use the right amount and ensure proper rising time.

