Table of Contents
Canning venison is like bottling up the essence of the wild—a convenient, shelf-stable way to enjoy this game meat anytime. Whether you’re a seasoned hunter or someone looking to save on freezer space, this guide has you covered. Let’s dive into the what, why, and how of making Canning venison that’s both safe and delicious.
Why Canning Venison Matters
Picture this: it’s a busy Tuesday evening. You’re tired, hungry, and not in the mood to cook. What if you had a jar of ready-to-eat venison chili or spaghetti sauce waiting for you? That’s the magic of canning venison.
Not only does it save time, but it also extends the shelf life of your hard-earned game meat. Canning venison lasts over a year in a cool, dry pantry. It’s a lifesaver when you want a quick, hearty meal without sacrificing flavor or nutrition.
Fun Fact: Unlike freezing, canning preserves meat without the risk of freezer burn, keeping it fresh and flavorful.
Getting Started: Tools of the Trade
Before you jump into the kitchen, make sure you’re equipped with the right tools and materials. Trust me, having the right gear makes all the difference.
Essential Equipment
| Item | Why You Need It |
|---|---|
| Pressure Canner | Absolutely non-negotiable! A pressure canner reaches the high temperatures needed to kill harmful bacteria like botulinum spores. Presto or All American are great options. |
| Wide-Mouth Jars | These make packing meat chunks easier, and they’re reusable, eco-friendly heroes. |
| Lids and Bands | Go for new lids every time to ensure a proper seal. Reusing bands is fine as long as they’re not bent or rusty. |
| Jar Lifter | Essential for handling hot jars safely (unless you enjoy singed fingers ). |
| Bubble Remover | A butter knife works too, but a proper bubble remover is better at getting those pesky air pockets out. |
| Paper Towels + Vinegar | These are your rim-cleaning MVPs. Fat residue can ruin seals, so keep your rims squeaky clean. |
What Kind of Venison Works?
When we say “venison,” we’re talking about any red wild game meat – deer, elk, moose, caribou, or even exotics like nilgai. If it’s lean and red, it’s fair game (pun intended).
Two Paths to Canning Venison: Raw Pack vs. Hot Pack
When it comes to prepping your venison, you’ve got two main options: raw pack or hot pack. Think of it like choosing between coffee or tea – both are great, but one might suit your style better.
Raw Pack
This method is as simple as it gets.
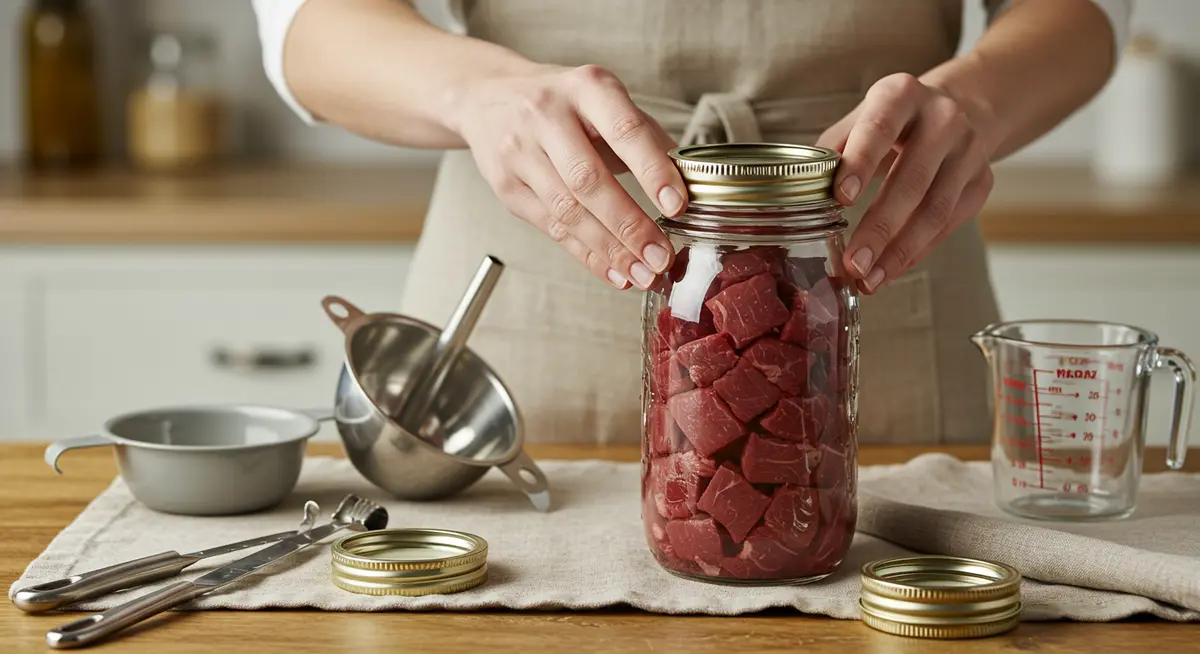
- Pack raw meat chunks into jars.
- Add a sprinkle of salt (optional).
- Seal and let the pressure canner do all the cooking.
It’s quick, but the texture might be slightly firmer since the meat cooks entirely in the jar.
Hot Pack
This one takes a little more effort upfront, but the payoff is worth it.
- Sear, smoke, or grill your venison chunks first. This locks in a rich, caramelized flavor (hello, Maillard reaction!).
- Pack the pre-cooked meat into jars, cover it with venison broth or water, and let the canner finish the job.
Want to go gourmet? Try making a stew or sauce first, then can it. Imagine popping open a jar of ready-to-eat venison spaghetti sauce on a busy night. Pure bliss.
Step-by-Step: How to Can Venison

1. Prepare Your Workspace
Canning can get messy, so start with a clean, organized kitchen. Sterilize your jars and lids by running them through the dishwasher or boiling them for a few minutes.
2. Pack the Meat
Depending on your chosen method (raw or hot pack):
- Fill jars with venison chunks, leaving 1 inch of headspace.
- If using raw pack, sprinkle in a pinch of salt.
- If using hot pack, pour hot broth or water over the meat.
Pro Tip: Use a butter knife or bubble remover to eliminate air pockets. This step ensures even cooking and a tight seal.
3. Seal the Jars
Clean the jar rims with a paper towel dampened with vinegar. Fat or grease can prevent the lids from sealing properly. Once the rims are clean:
- Place the lids on the jars.
- Screw on the bands until they’re finger-tight.
4. Pressure Canning
Here’s where the magic happens:
- Place the jars in your pressure canner, adding enough water to cover about ¼ of the jar height.
- Seal the canner and follow the manufacturer’s instructions for venting steam (usually around 7–10 minutes).
- Set the pressure to 10 PSI for up to 1,000 feet in elevation. For higher altitudes, adjust to 12–15 PSI.
- Process pints for 75 minutes and quarts for 90 minutes.
5. Let It Cool
Patience is key here. Turn off the heat and let the canner cool naturally. Opening it too soon can cause jars to lose their seal or even break. Once the pressure gauge hits zero, wait another hour before removing the jars.
Pro Tips for a Perfect Seal
- Don’t Rush Cooling: Sudden temperature changes are a no-no. Let your jars cool overnight on a cutting board or towel.
- Check the Seal: Once cooled, press the center of each lid. If it doesn’t pop back, you’re good to go!
Safety First: Avoiding Common Mistakes
Canning isn’t something you can freestyle, especially with meat. Follow these guidelines to keep your venison safe and delicious:
| Do’s | Don’ts |
|---|---|
| Use a pressure canner – no exceptions! | Skip steps, like venting the canner. |
| Clean rims thoroughly with vinegar. | Use ingredients like dairy or eggs. |
| Adjust PSI for your altitude. | Open the canner before it’s fully cooled. |
Nutrition Facts for Basic Canning Venison
| Nutrient | Amount (Per Serving) |
|---|---|
| Calories | 150 |
| Protein | 24g |
| Fat | 4g |
| Carbohydrates | 0g |
| Iron | 3.5mg |
Taking Canning Venison to the Next Level
Canning venison isn’t just about preserving meat—it’s a gateway to quick, hearty, and satisfying meals. Imagine pulling out a jar of venison stew or spaghetti sauce, heating it up, and having dinner on the table in minutes. In this part, we’ll focus on how to create meal-ready jars, share pro tips for customizing your recipes, and explore advanced techniques.

Why Make Ready-to-Eat Canning Meals?
Why stop at plain canned meat when you can create full meals-in-a-jar? Prepping dishes like venison chili, stew, or pasta sauce saves time, effort, and money while ensuring you always have a delicious meal at hand.
Think about it: after a long day, you could either cook from scratch or grab a homemade, shelf-stable meal that’s ready to heat and serve. It’s like having fast food in your pantry—but healthier and way more flavorful!
💡 Looking to explore more nutrient-rich, flavorful meat options? Check out Chicken Hearts Recipes – Discover Delicious and Nutritious Dishes for creative ways to prepare this protein-packed ingredient!
Canning Full Meals: Step-by-Step Guide
1. Choose Your Dish
First, decide what meal you want to can. Popular options include:
- Venison chili
- Spaghetti sauce
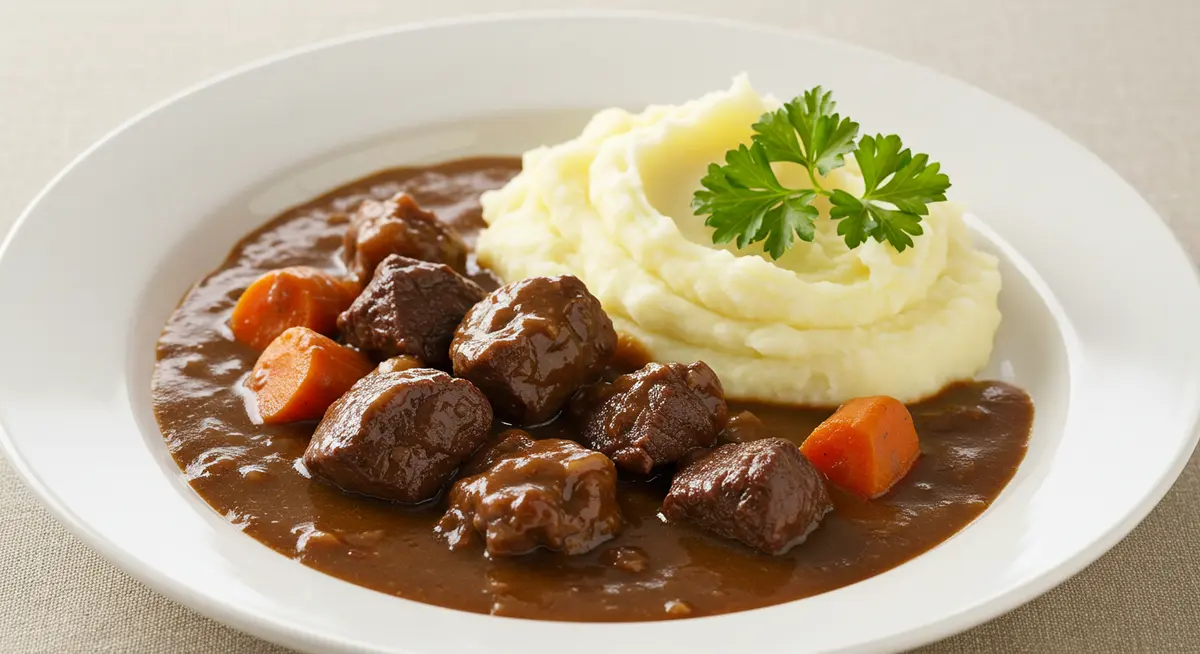
- Venison stew (like Hungarian goulash or Belgian carbonnade)
- Southwest-inspired chile verde or chile colorado
Quick Tip: Stick to recipes that work well under pressure canning guidelines. Avoid dairy, eggs, or starch-heavy ingredients like pasta and rice—they can mess with the heat distribution and make your jars unsafe to store.
2. Prep Your Ingredients
Unlike plain venison, these dishes require a little more prep. Chop your veggies, brown your meat, and assemble your spices. Here’s an example ingredient list for venison chili:
| Ingredient | Quantity |
|---|---|
| Ground venison | 2 lbs |
| Onion (chopped) | 1 large |
| Garlic (minced) | 4 cloves |
| Crushed tomatoes | 28 oz can |
| Tomato paste | 6 oz can |
| Beef or venison stock | 1 quart |
| Kidney beans (half-cooked) | 2 cups |
| Chili powder | 2 tbsp |
| Cumin | 1 tsp |
| Salt | To taste |
Pro Tip: Always half-cook beans before canning to prevent them from overcooking in the pressure canner.
3. Cook the Dish
For stews and sauces, partially cook the ingredients to blend the flavors but leave them slightly underdone. Remember, the pressure canner will finish the cooking process.
4. Fill the Jars
- Hot Pack Method: Ladle the hot stew or sauce into sterilized jars, leaving about 1 inch of headspace.
- Wipe the rims clean with a vinegar-dampened paper towel to remove grease or residue.
- Secure the lids and bands, tightening them just until finger-tight.
5. Pressure Can the Jars
Follow the same steps outlined in Part 1:
- Place jars in the canner with water covering ¼ of the jar height.
- Vent the canner for 7–10 minutes.
- Adjust the pressure based on your altitude (10 PSI for low elevations, up to 15 PSI for higher altitudes).
- Process jars for the required time: 75 minutes for pints and 90 minutes for quarts.
6. Cool and Store
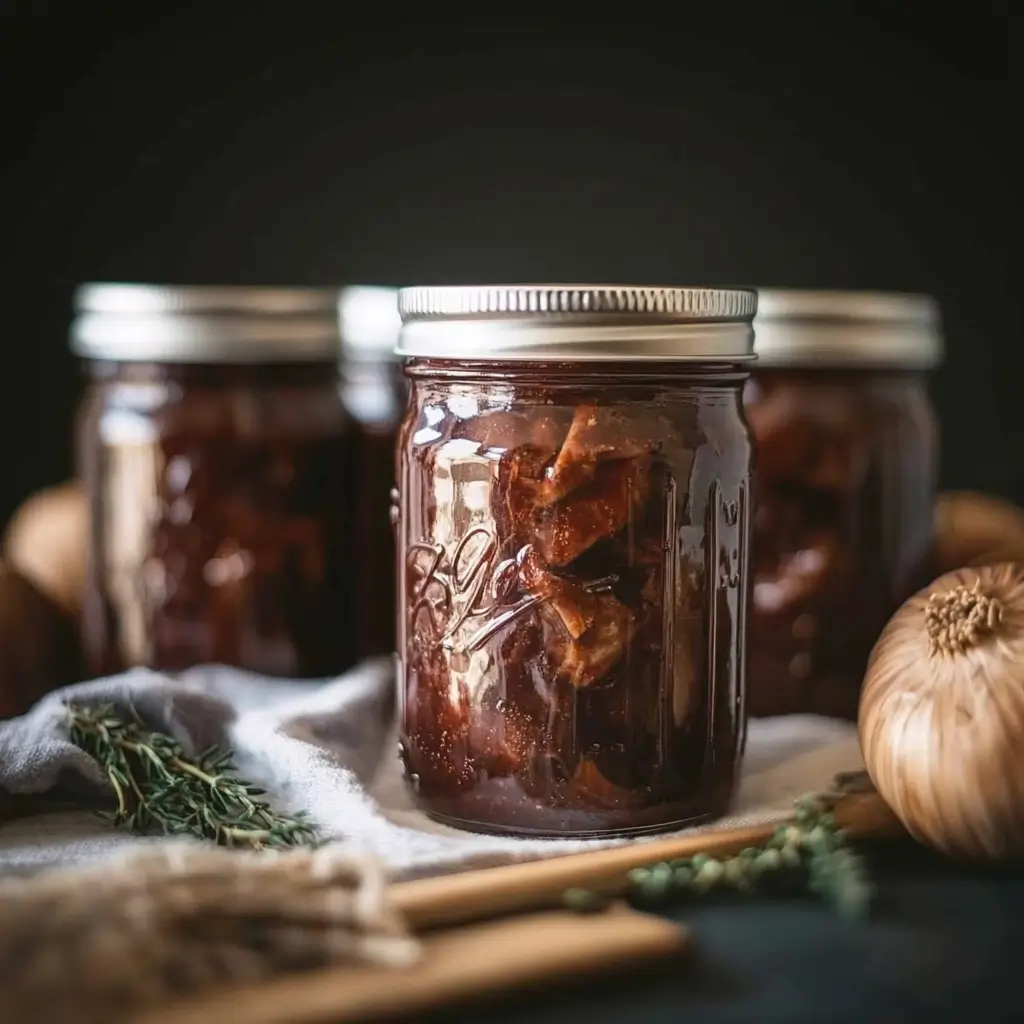
Let the canner cool naturally, then remove the jars and let them rest overnight. Check the seals before storing them in a cool, dark pantry. Properly Canning meals can last over a year!
Recipe Highlight: Venison Spaghetti Sauce
Spaghetti sauce is a versatile staple that works for pasta, lasagna, and even pizza. Here’s how to can your own venison version:
Ingredients
| Ingredient | Quantity |
|---|---|
| Ground venison | 2 ½ lbs |
| Olive oil | ¼ cup |
| Onion (minced) | 1 large |
| Garlic (minced) | 6 cloves |
| Crushed tomatoes | 2 cans (28 oz each) |
| Tomato paste | 6 oz can |
| Red wine | 1 cup |
| Dried oregano | 2 tbsp |
| Red pepper flakes | ½ tsp |
| Venison or beef stock | 1 quart |
| Salt, pepper, sugar | To taste |
Instructions
- Cook the Sauce
- Heat olive oil in a large pot. Brown the ground venison over medium-high heat.
- Add onion and cook until soft (about 8 minutes). Stir in garlic and cook for another 2 minutes.
- Mix in the tomato paste and let it caramelize to a brick-red color.
- Add Liquid and Spices
- Pour in the wine and let it reduce by half. Add oregano, red pepper flakes, crushed tomatoes, and stock.
- Simmer for 30 minutes, seasoning with salt, pepper, and a pinch of sugar to balance the acidity.
- Can the Sauce
- Ladle the hot sauce into sterilized jars, leaving 1 inch of headspace.
- Wipe rims clean, secure lids, and process in a pressure canner at 10 PSI for 70 minutes (adjust for altitude).
Nutrition Facts for Venison Spaghetti Sauce
| Nutrient | Amount (Per Serving) |
|---|---|
| Calories | 168 |
| Protein | 17g |
| Fat | 9g |
| Carbohydrates | 3g |
| Fiber | 1g |
| Iron | 3mg |
Advanced Tips for Customizing Canning Meals
1. Experiment with Flavors
Want to try something new? Add unique spices, like smoked paprika or curry powder, to create your signature dish. Just avoid fresh herbs until you’re ready to eat—canning can dull their flavor.
2. Avoid Common Pitfalls
- No Dairy: Cream or cheese will spoil during storage. Add these after opening the jar.
- No Starches: Pasta, rice, and flour-based thickeners don’t hold up well in pressure canning. Cook them separately and add them when serving.
3. Cook Tough Cuts First
Venison shanks or neck meat benefit from a quick stovetop braise before canning. This softens the meat and makes it easier to enjoy later.
Closing Thoughts
Canning venison isn’t just about preservation—it’s about crafting flavorful, homemade meals that are ready whenever you are. Whether you’re whipping up spaghetti sauce, chili, or a hearty stew, these recipes will keep your pantry stocked and your taste buds happy.
Are you ready to try canning your favorite venison dish? Share your ideas or ask for more tips—I’m here to help!
FAQs About Canning Venison
Is Canning Venison Safe and Worth It?
Yes! Canning venison is safe when using a pressure canner and offers a long shelf life of up to two years. It’s a great way to enjoy tender, flavorful meat that’s ready for quick meals.
How Long Does Canning Venison Last?
Properly Canning venison can last up to two years when stored in a cool, dark, and dry place. Always check the seals before using to ensure safety.
What’s the Best Way to Can Venison Safely?
To safely can venison, use a pressure canner to reach the high temperatures needed to kill bacteria. Follow proper guidelines for sterilizing jars, packing meat, and processing at the correct pressure for your altitude.
Why Does Venison Taste Different Than Beef?
Venison has a “wild” flavor due to the deer’s natural diet of plants and berries. Canning enhances this flavor, making the meat rich and tender while allowing you to balance the gaminess with added spices.
Conclusion
Canning venison is a rewarding and practical way to preserve your game meat while ensuring it stays flavorful, tender, and ready to use for any meal. By following proper canning techniques and incorporating creative flavors, you can enjoy the convenience of shelf-stable venison that lasts up to two years. Whether you’re a seasoned hunter or just love the idea of homemade, ready-to-eat meals, canned venison is a versatile option that adds value to your pantry. Start canning today and savor the taste of the wild all year long!

